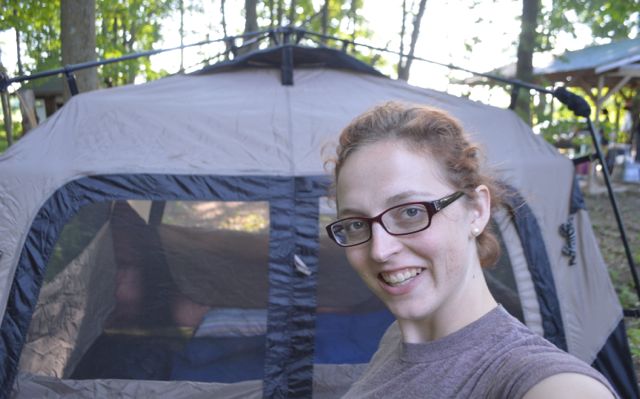
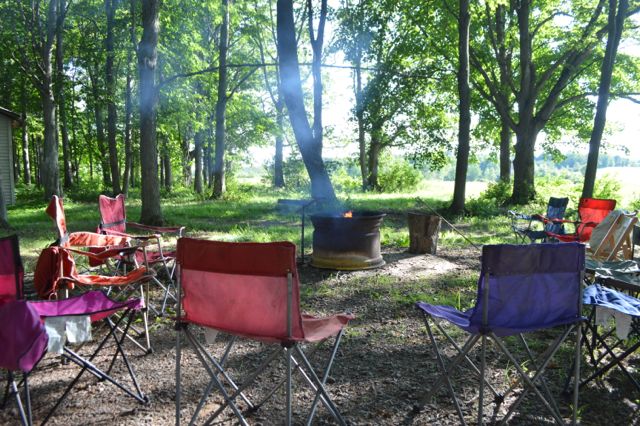
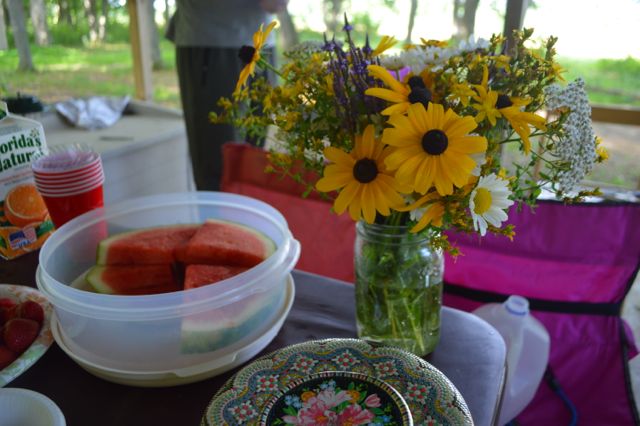
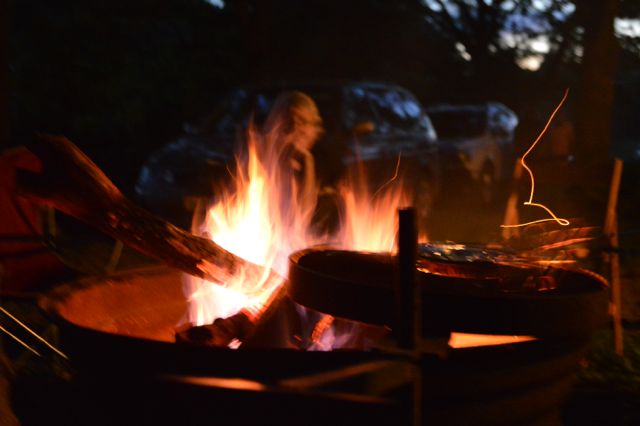
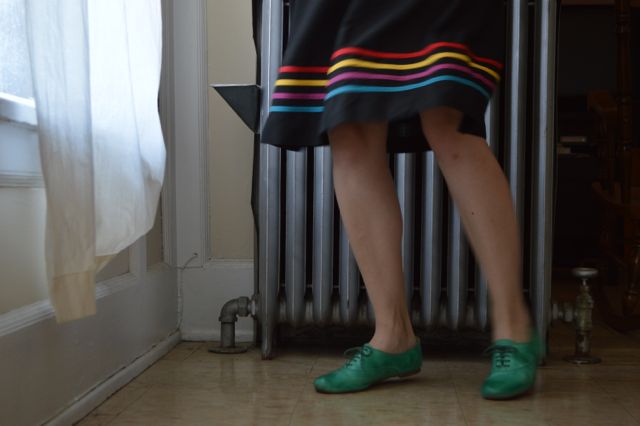
(Scenes from my work camping trip last week. I shared a peak of our favorite dessert here.)

|
|
0 Comments
I'm growing nasturtiums in my garden this season and have loved the pop of color they add to my garden bed. Nasturtiums are one of the most well known edible flowers, and they're a favorite of gardeners for their taste and their ability to deter pests from tomato plants. They're also great for brightening up salads. While reading Cooking with Flowers, I saw a recipe for nasturtium jelly, and thought it would be a great use for my explosion of nasturtium flowers. 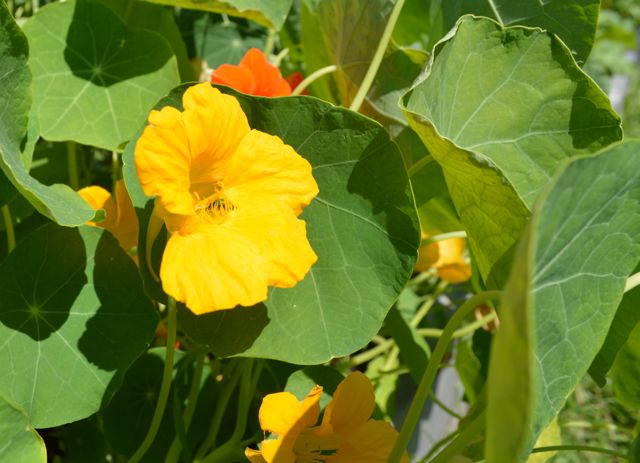
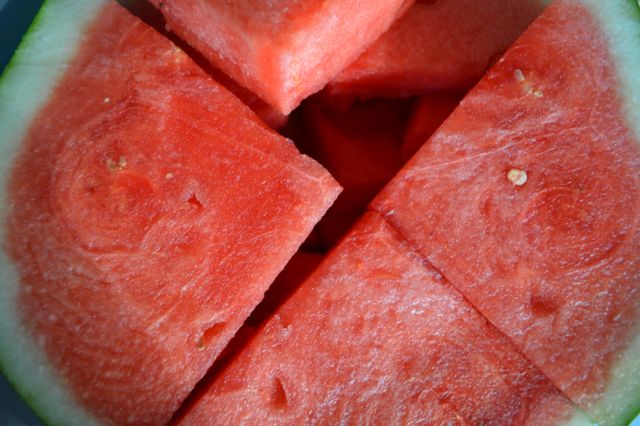
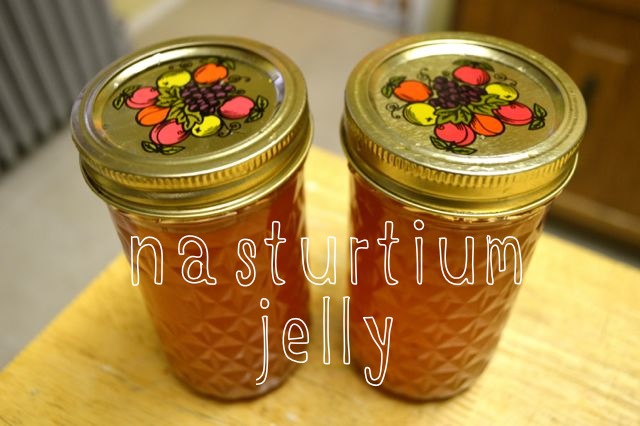
I had never attempted to make jelly before, so if you're a jelly-making-newbie like me, I think "you're ready for this jelly." For this recipe, you'll need 1 1/2 cups nasturtium flowers, 2 cups water, 1/4 cup lemon juice, dash of hot sauce (optional), 2 cups sugar, and 1 (3 ounce) packet powdered pectin. The recipe makes enough jelly for about two medium sized mason jar (see top picture). 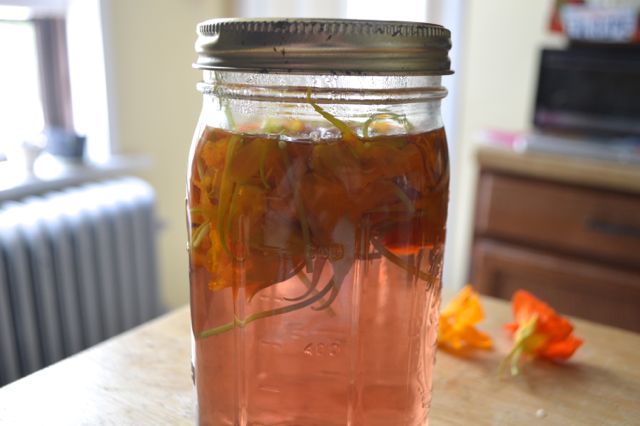
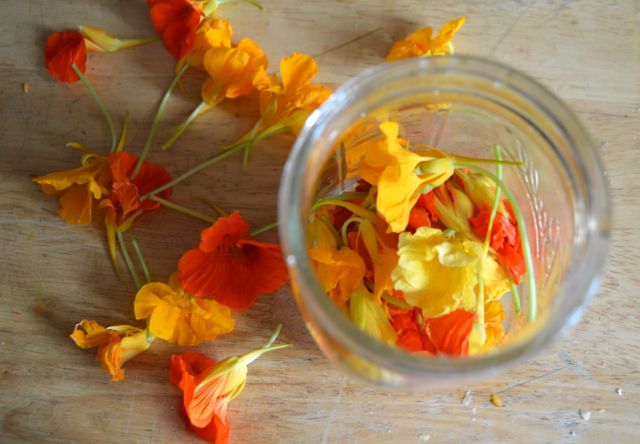
Begin by placing blossoms in sealable heatproof jar and pour 2 cups boiling water over top. Let it stand for at least two hours and up to overnight. (I let it stand for 5 hours, but I will let it seep overnight next time to get more flavor. The taste of the flavored water will weaken when adding sugar and lemon juice.) Strain mixture and reserve your "nasturtium tea." Press the blossoms to drain as much liquid out as possible. You can leave the blossoms in at this point, but I played it safe and left them out. If you're feeling adventurous, consider placing the flowers at the very bottom or very top of the finished jelly jar for a striking finished look. Bring nasturtium tea, lemon juice, (hot sauce) and sugar to a boil in a 3-4 quart pot. Add pectin when sugar is dissolved. Return to boil for three minutes. Scrape off any foam that develops - don't want it affecting the taste or look of your jelly! Ladle jelly into clean, dry jars. The jelly will be hot and liquidy at this point, but it will start to set once it leaves the pot. You can can or refrigerate your jelly at this point. Canned jellies will last for one year, and refrigerated jellies will last for a couple of months. Because canning still makes me nervous, I just refrigerated my jelly and have been sharing it with friends and coworkers. And it will have disappeared long before it's couple-month shelf life has expired. Recipe adapted from Cooking with Flowers. 
The finished jelly has the sweet/spicey taste of nasturtium flowers. I didn't add the hot sauce, but I think I will next time to really highlight the flavor of the nasturtiums. The jelly is great served on toast, but my favorite way to eat it is served on crackers with a little goat cheese. Enjoy!

beautiful summer skies ... perfect gardening weather ... a great phone conversation with my mom ... remembering that just because something we try isn't right - it doesn't mean there's anything wrong with us ... four days till Michigan!!!! ... nights spent on the couch with my love and my pups ... leftovers from my first successful attempt at making pesto ... surviving our first furniture purchasing adventure ... garden potlucks ... the first zucchini of the season ... sharing my homemade nasturtium jam ... painted toe(nail)s ... this great Portland blog ... these tweets ... the second season of Call the Midwife ... affirming staff meetings ... camping trips ... roasted marshmallows ... keeping up with the 30 self-portraits in 30 days challenge
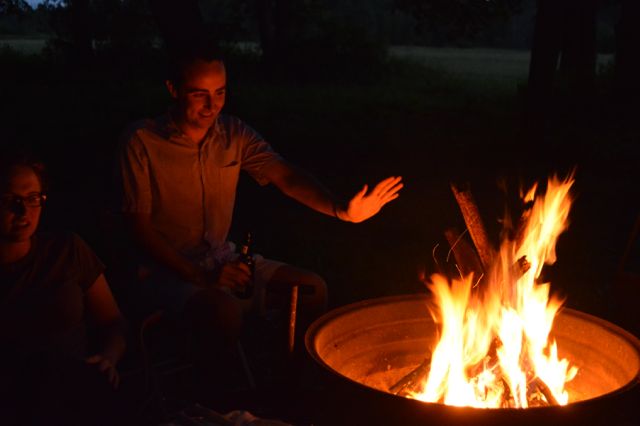
 My coworkers and I took a break from our regular work schedule for a staff meeting in Northwestern Wisconsin this week. We had the option of camping instead of sleeping in a hotel, so I said "heck yes!" and signed up for the camping crew. I volunteered to make a dessert and tried out a recipe for campfire mini cakes from Today's Letters. They were a total hit and confirmed my baker status among my coworkers (score). 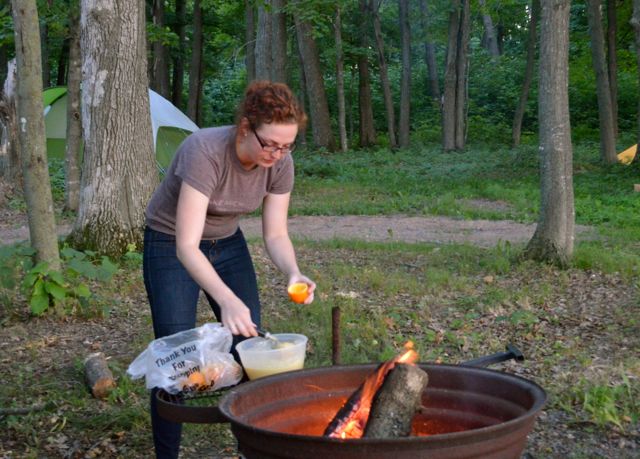 While I admit I have some mad baking skillz, I had never baked over an open flame prior to Wednesday night. The fun experiment turned out to be totally worthwhile - even though I got a little too up close and personal with the smoke and flames. 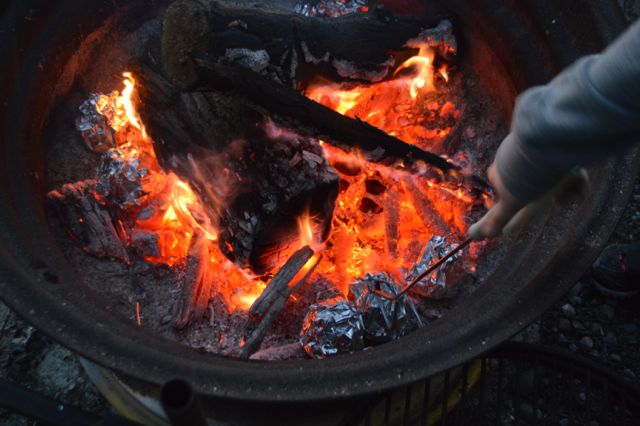 The cakes are baked in hollowed out oranges, covered in tin foil, and placed directly in the campfire for 20 minutes (with a turn halfway through). Ingredients include one yellow cake mix, 3 eggs, 1/3 cup oil, 1 cup water, 10-12 oranges. Slice off tops of oranges about half inch from the top. Save orange top for later. Scoop out orange "innards." Prepare cake mix according to directions and fill each orange about 3/4 full. Place top back on orange and wrap in foil. Place wrapped oranges in camp fire, turn halfway through, and check after 20 minutes. Orange peel may be burnt, but the cake will still be tasty! Helpful tools: foil, bowl, spoon, bottle from home with oil and water pre-mixed, crack proof container for transporting eggs, long tongs for putting oranges in fire. Tip: scoop out oranges at home if possible and try to conserve orange innards. This process was messier and took longer than I expected. I accidentally wasted a lot of the orange juice and pulp because I didn't have a good way to save it. I'd also avoid using mini oranges since bigger oranges = bigger cakes = happy campers. 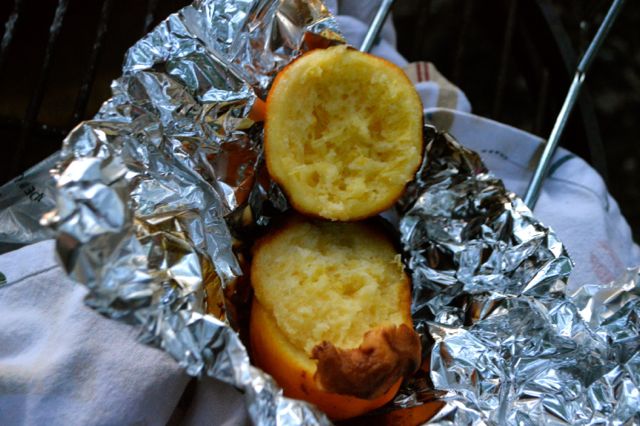 I highly recommend giving these a try on your next camping trip. They were such a fun novelty since 1) not many people bake over open flames and 2) not many people eat cake out of oranges. We were dreaming up other variations around the campfire, and I think a grapefruit might be interesting, but as my coworker said "I think we're going to shelve the gourd idea."
 Summer nights are made for being outside. Last night, we started with a trip to the custard shop for the humans and followed it up with a trip to the dog park for the pups. I love these little impromptu family date nights. And I'm pretty sure the pups do too. 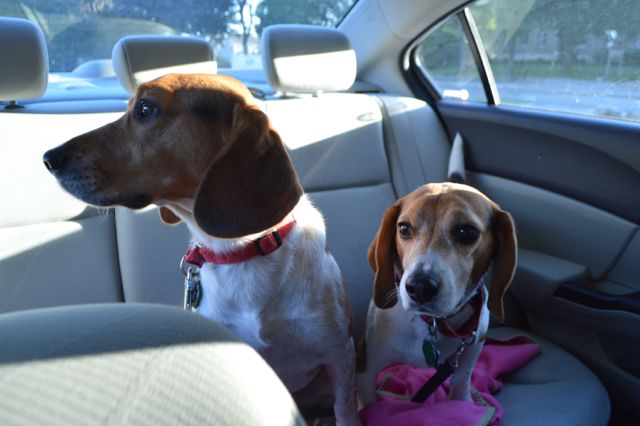 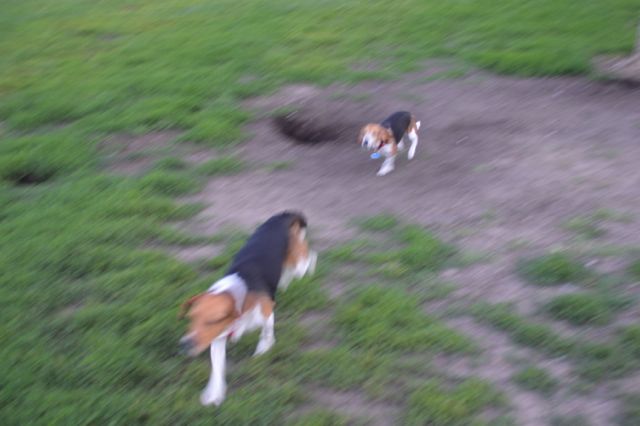 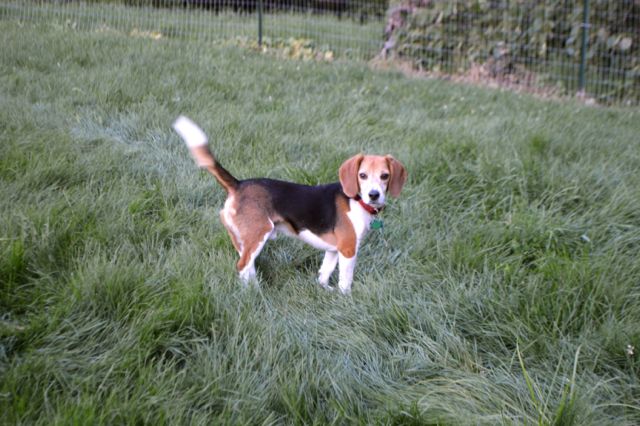 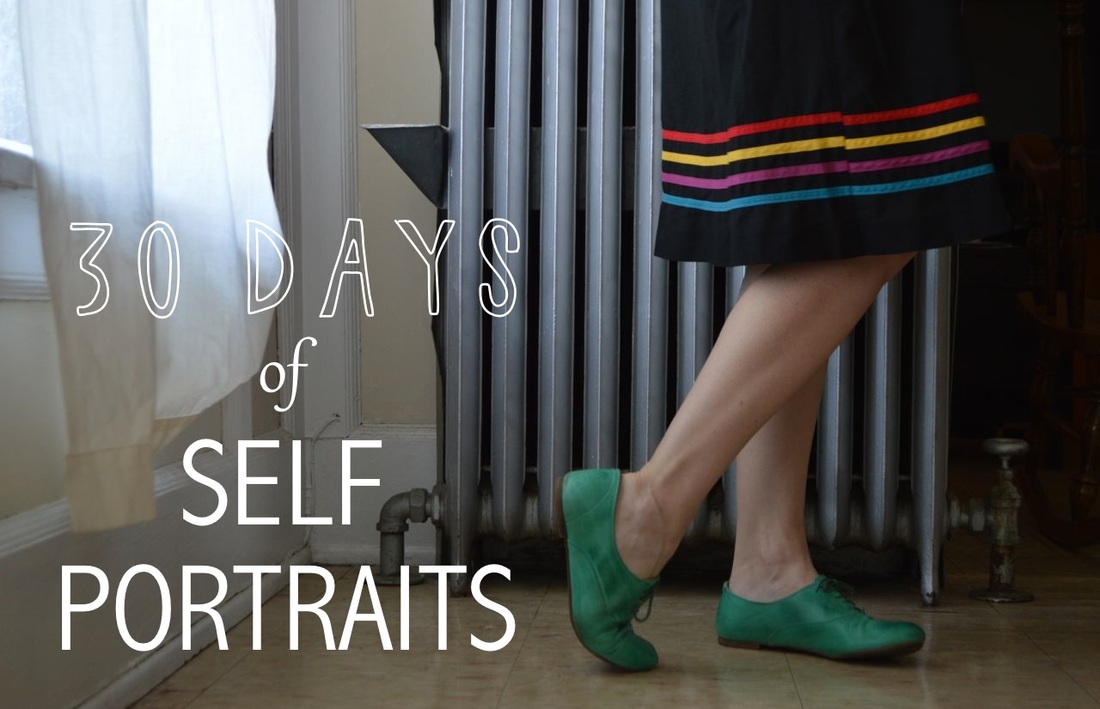
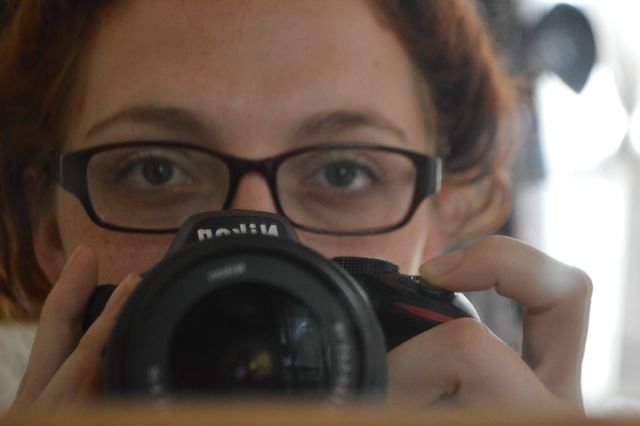
Elsie and Emma from A Beautiful Mess recently posted an invitation for an exciting challenge: to take 30 self portraits in 30 days. I've been wanting to do a photography challenge but felt overwhelmed by those 365 challenges; a photo every day for a year?! Every time I started, I got about two weeks in before I stopped. But this one seemed doable ... and also made me a little nervous, so I thought I would give it a try. Why be nervous about taking a few "selfies"? Well first, isn't it a little self-centered to be taking and posting a lot of pictures of myself? Maybe. But I've gotten over that before on this blog, and I can balance out a few self-portraits with a lot of pictures of nature and other beautiful things and people. The truth is, I don't always like pictures of myself, and I - like many - struggle with body image. It's silly because I feel like I like (sometimes even love) my body as a whole, but I never fail to find little things to criticize. And then the saddest thing: I'll see contemporary pictures of myself and find faults, but when I look back at really old pictures I think "What was I so critical of? I was beautiful!" So if I can look back and find beauty in myself, why can't I find beauty in myself right now? I don't want to spend my whole life not enjoying myself, who I am in the present. So here goes a journey to better self love through selfies. I think it can happen. Do you struggle with body image? How do you handle it? 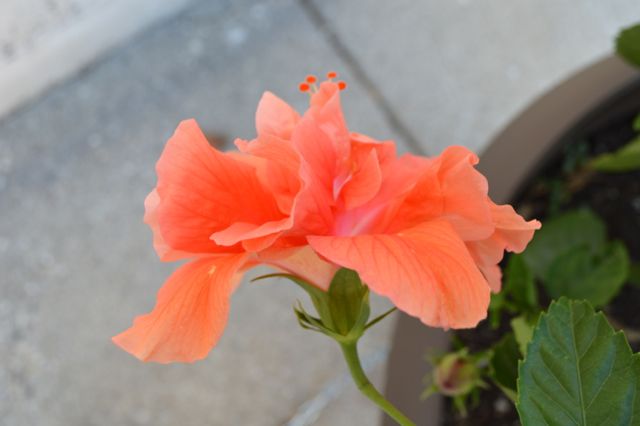 Urban hikes ... work camping trips ... having the opportunity to meet all the wonderful year long volunteers we had in Milwaukee this year ... impromptu road trips ... summer farmer's markets ... fresh mint tea ... barbeques ... being brave enough to make jam for the first time ... afternoon naps ... beautiful flowers greeting me every time I come home ... knowing how to put on eye liner and having sassy eyes ... families who bring their new babies to church so I can snuggle with them ... salads and produce picked right out of the garden ... the difference a little weed whacking can make ... fresh fruit ... smoothies ... making plans to visit Michigan!!!!
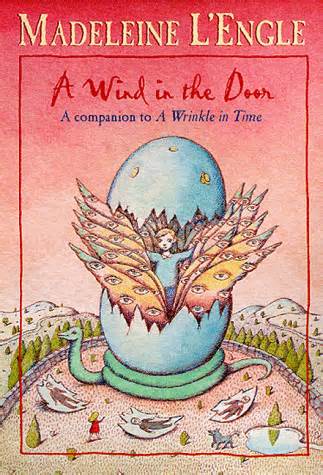
I've mentioned before that I love young adult fiction. As my friend Lizzy says, "I like books meant for 12 year old girls." Madeleine L'Engle's Time Quintet series falls into this category, but it feels like a series that is understood on a deeper level when experienced as an adult. Kind of like a Pixar or classic Disney movie.
A Wind in the Door is the follow up book to A Wrinkle in Time which I finished reading just a few weeks ago. I'm in love with these books, and I'm already dreaming about reading them to my kids someday (along with Harry Potter, Chronicles of Narnia, and many others). This book continues the story of Meg Murry, her little brother Charles Wallace, and her friend Calvin. Meg is frightened when she finds out Charles Wallace is sick with a mysterious illness, and she feels overwhelemed and unprepared when she learns that she is being called to save him. Meg learns about mitochondria, farandolae, and that size is not always what it seems. Meg has to fight the Echthroi (those who hate) with love in order to save her brother's life and maintain the balance of the universe. Pretty awesome right? The book tells a classic adventure story where the kids play the heroes, and the advanced scientific/philosophical/theological concepts make the books way fun - although most of the concepts will forever be way over my head. L'Engle has an amazing gift as a story teller - and as a poet, as you can see from this poem included at the climax of the book. I've thought about this poem several times while watering my garden, and I love thinking of whole galaxies worth of importance contained in my plants and the little crawling insects. Be! Be, butterfly and behemoth, be galaxy and grasshopper, start and sparrow, you matter, you are, be! Be caterpillar and comet, be porcupine and planet, sea sand and solar system, sing with us, dance with us, rejoice with us, for the glory of creation, sea gulls and seraphim, angle worms and angel host, chrysanthemum and cherabum Be! Sing for the glory of the living and the loving the flaming of creation sing with us dance with us be with us. 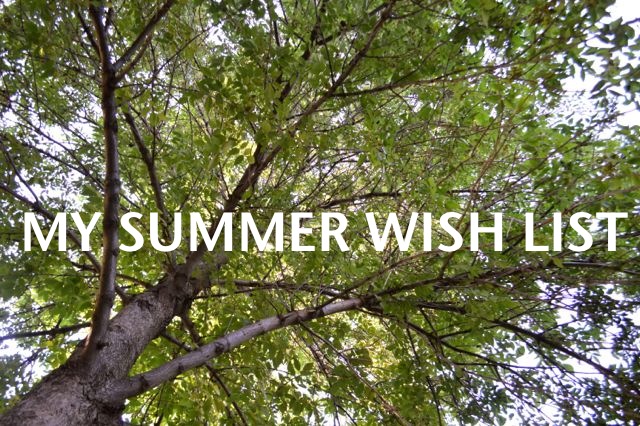 Thanks to all who entered this week's giveaway! I was so inspired by all the comments on the giveaway post - every summer favorite brought a smile to my face. The comments also inspired me to write a summer wish list. I'm in total summer lovin' mode, even with this crazy heat wave. What's on your summer wish list?
o Spend all day in a park √ o Plant a garden √ o Eat veggies right out of the garden √ o Have a garden picnic √ o Go swimming in a lake √ o Have a barbeque √ o Sit around a campfire √ o Make s’mores √ o Trips to the dog park √ o Go camping √ o Make popsicles √ o Make pretty lemonade √ o Bake a fruit pie √ o Pick berries √ o Wear a sun dress √ o Keep my toe nails painted √ o Be outside barefoot o Pick wildflowers √ o Go mini golfing o Concerts in the park o Visit Portland √ o Visit St. Louis √ o Swim in Lake Michigan at sunrise o Farmer’s market √ o Porch sitting √ o Watch fireworks √ o Ice cream cones √ o Frozen yogurt √ o Take a Road trip √ o Run a 5k o Show some skin √ o Go to Michigan √ o Practice lots and lots of French o Take pictures all the time o Do a photo challenge √ o Long walks √ o CSA dinners √ o Leave the windows wide open √ o Sit in front of fans √ o Shower with the bathroom door open √ o Visit the beer garden o Close Wolski’s o Make a summer highlights post/photo album √ c Make sun tea c Watch Cardinals' baseball √ c Go hiking √ o Read a book in the shade √ o Stop and be present √ P.S. Congrats to Ceci, the winner of the free copy of Home Made Summer. Hope you enjoy your special award! 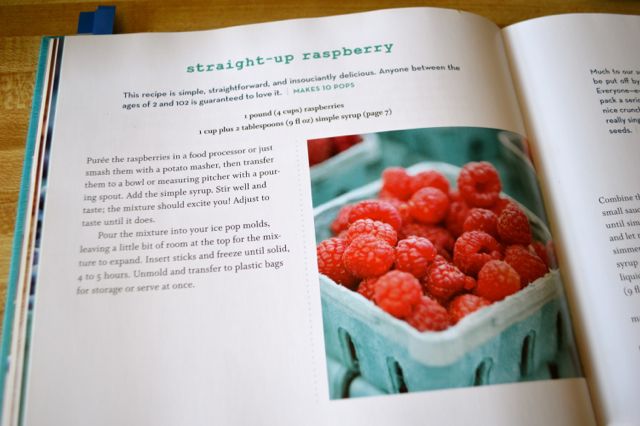
Today is the last day to enter the giveaway! Leave a comment here for a chance to win a copy of my other favorite summer cookbook Home Made Summer. Winner announced tomorrow! I picked up a copy of People's Pops from the library, and I may have been converted to a popsicle lover. I find summer dessert fans usually fall in the ice cream or popsicle category, and so being an ice cream connoiseur, I haven't strayed far into the world of popsicles. But this book caught my eye, and it has changed my summer. I bought a pack of popsicle molds and haven't looked back. The beauty of homemade popsicles is that it is so.freakin.easy to make them. Thanks to the authors of People's Pops, who make fresh fruit popsicles out of local, sustainably grown fruit, I have a new source of joy and happiness this summer. 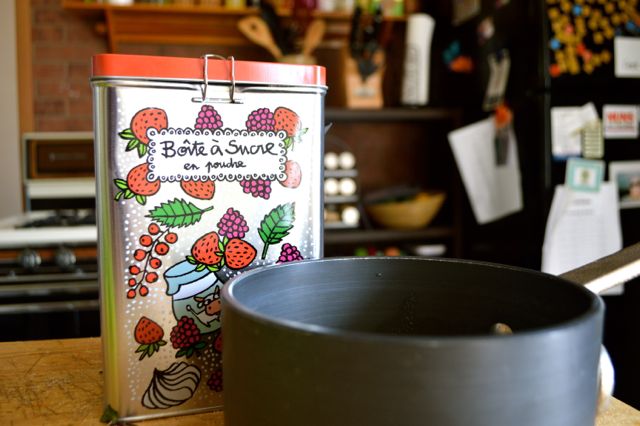
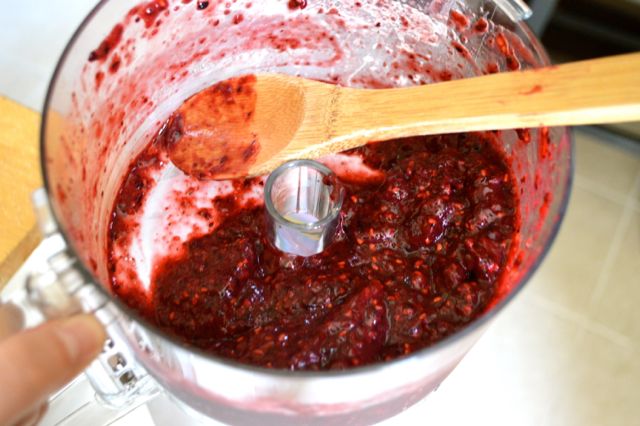
I made my own version of the straight up raspberry recipe using frozen and fresh rasperries, blueberries, and blackberries. I halved the recipe from the book since I only make four popsicles at a time. Here's what you do: 1. Make a simple syrup by mixing 1/3 cup sugar with 1/3 cup water. Bring to a boil and stir until sugar is completely dissolved. 2. Puree two cups of fresh berries is a food processor (or whatever equivalent you have on hand). Remember the smoother the texture, the smoother your finished popsicle. You can strain the berry seeds if you want, but that seemed like too much work for me. 3. Mix pureed berries and simple syrup together in liquid measuring container. 4. Pour berry mixture into popsicle molds. Leave room for mixture to expand in mold in freezer. 5. Freeze for 5-6 hours. 6. Place popsicles mold in lukewarm water bath for 1-2 minutes. 7. Pop out and enjoy!! 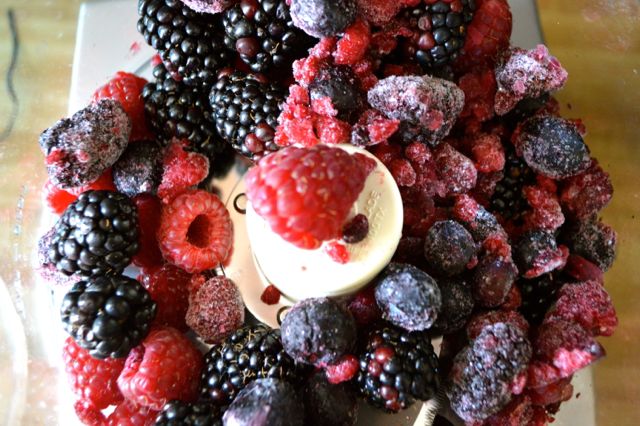
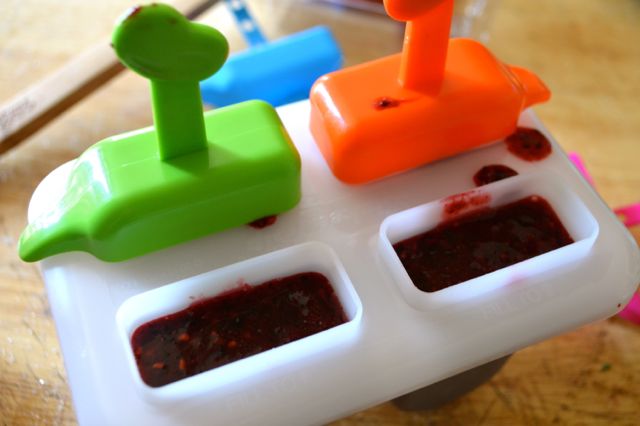
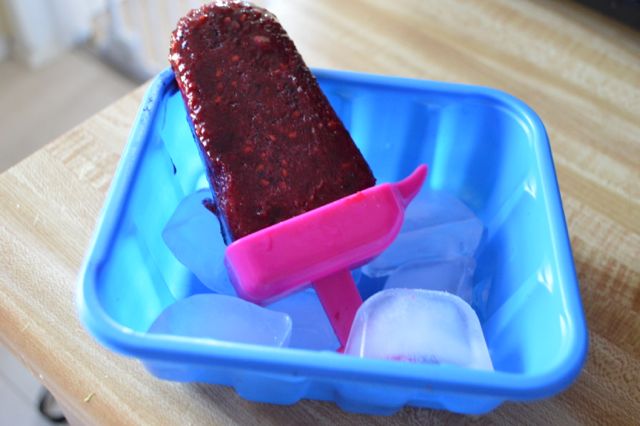
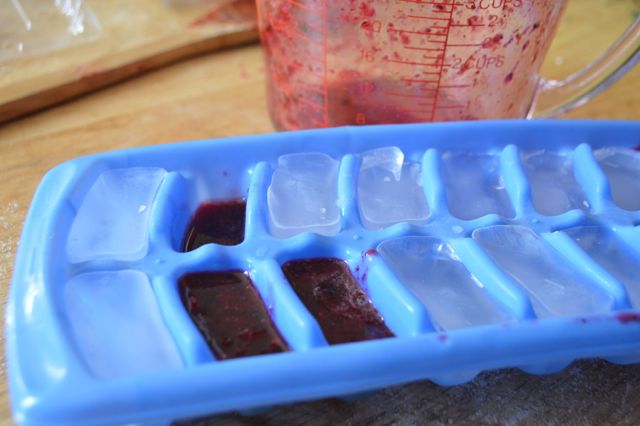
I had a little leftover mix and poured it into open slots in my ice cube tray. I plan on mixing them with a little coconut milk or yogurt for a tasty breakfast smoothie. 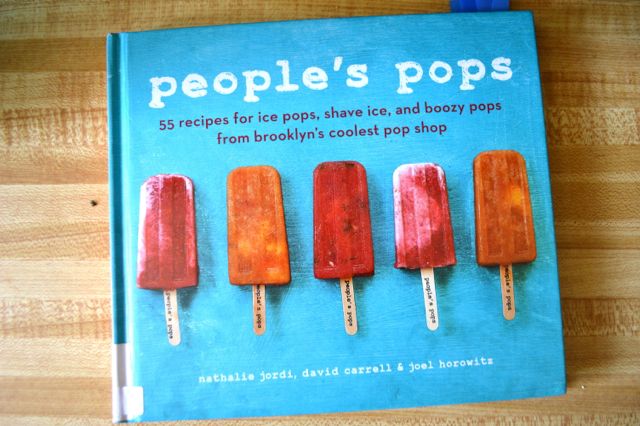
I highly recommend checking out People's Pops - or even going to one of their store locations if you live in New York City. The book has so many tasty recipe ideas and has great tips for making your own flavor combos. Some of their suggestions I plan on trying: tequila, elderflower, and cucumber; blueberries and cream; raspberries and basil; and melon and mint. Talk about tasty summer treats.
|  About MaryI'm a twenty something Midwesterner sharing joy from my everyday life. I love to garden, read, write, and photograph beautiful things. CategoriesAll ArchivesJuly 2014  Joyful ReadsA Beautiful Mess |


 RSS Feed