What's your favorite farmers market?? AND -- have you entered the bloviersary giveaway!! Stop everything you're doing and do it right now!!!
I'm celebrating the second blogiversary of Finding Joy in All Things this week. I'm hosting a giveaway and you can enter by leaving a comment on this post! 
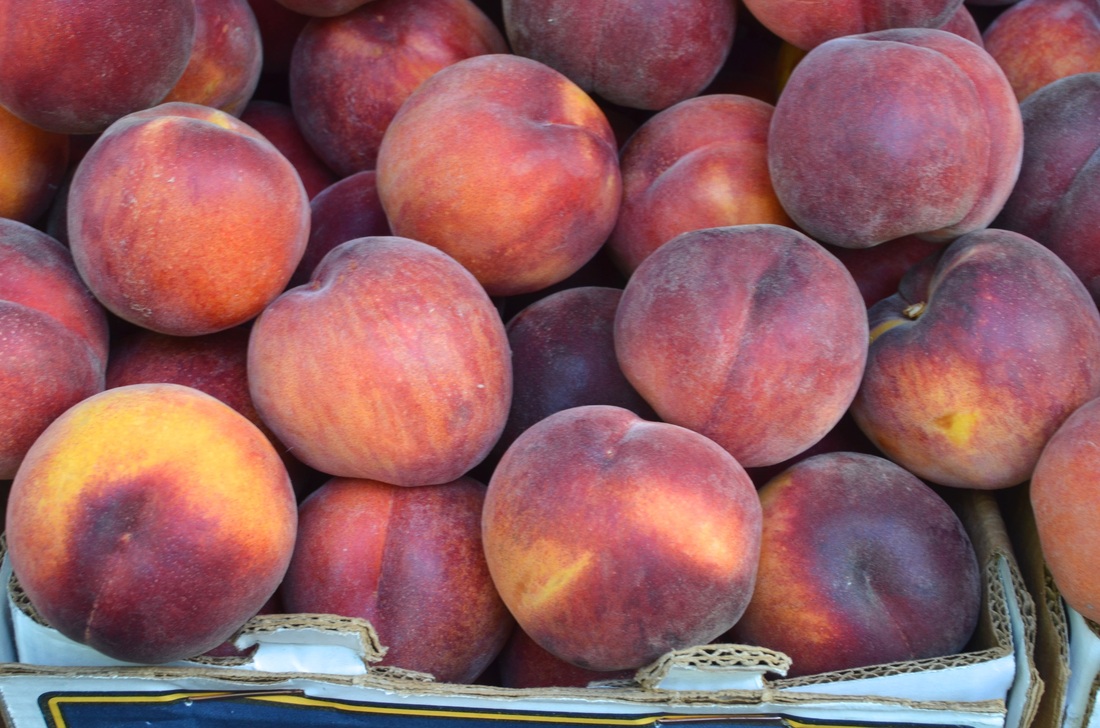
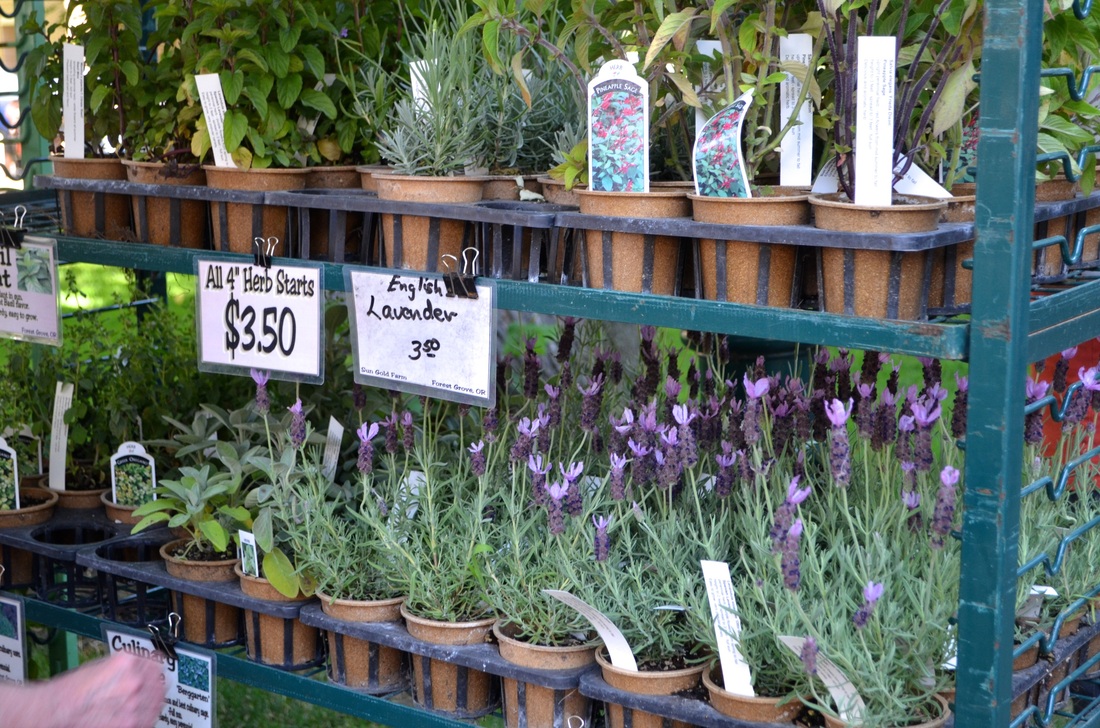
Ever the eager travelers, Paul and I went to Seattle and Portland last week to celebrate fourth of July and a family wedding. This was the first time I had been to the Pacific Northwest in the middle of summer, and I think I have found my favorite time to visit. The weather was amazing, the flowers gorgeous, and the farmers market fare mouth watering. Since I can only dream of being able to sample this fare weekly, I'll just drool over these photos .... 
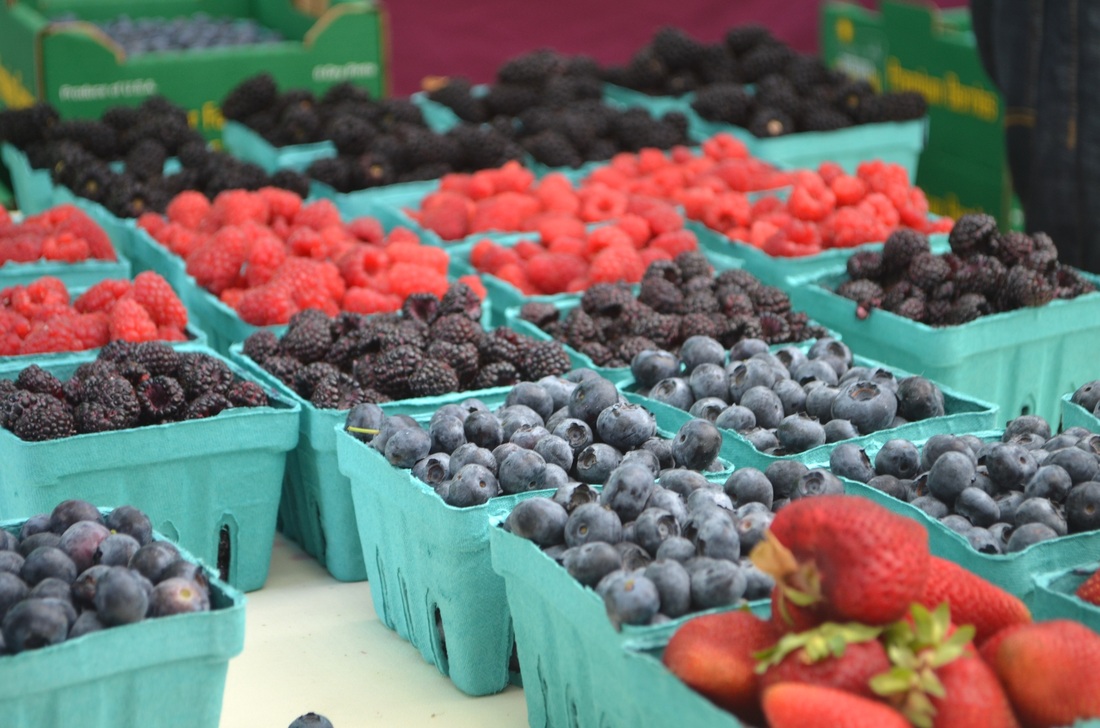
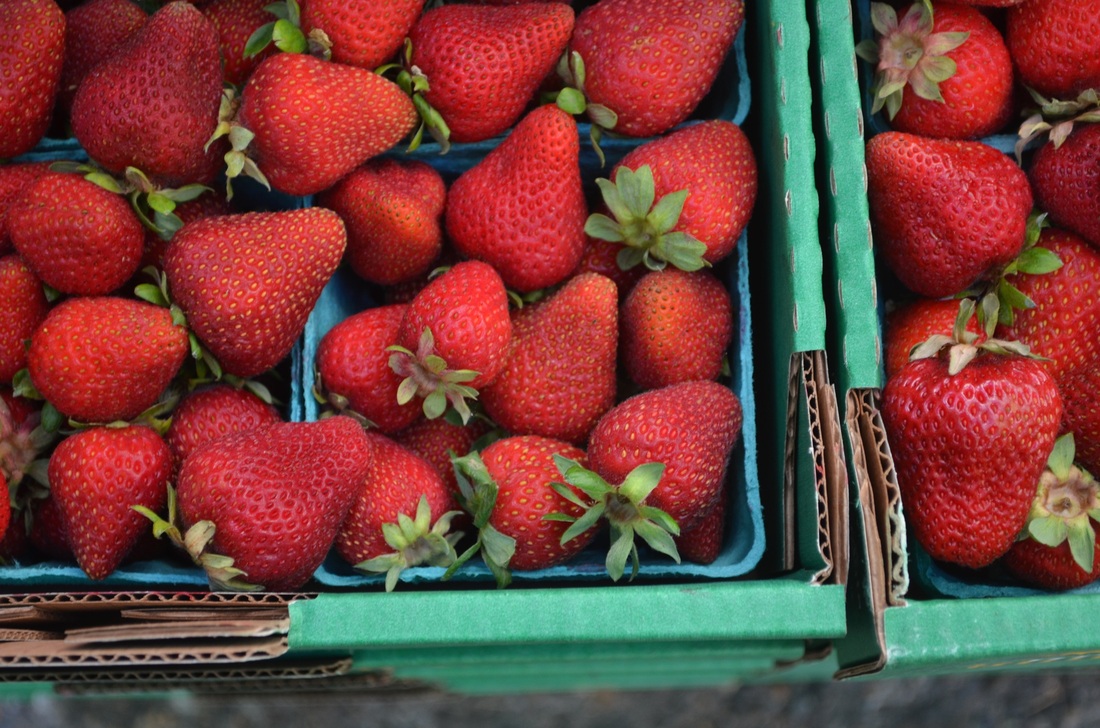
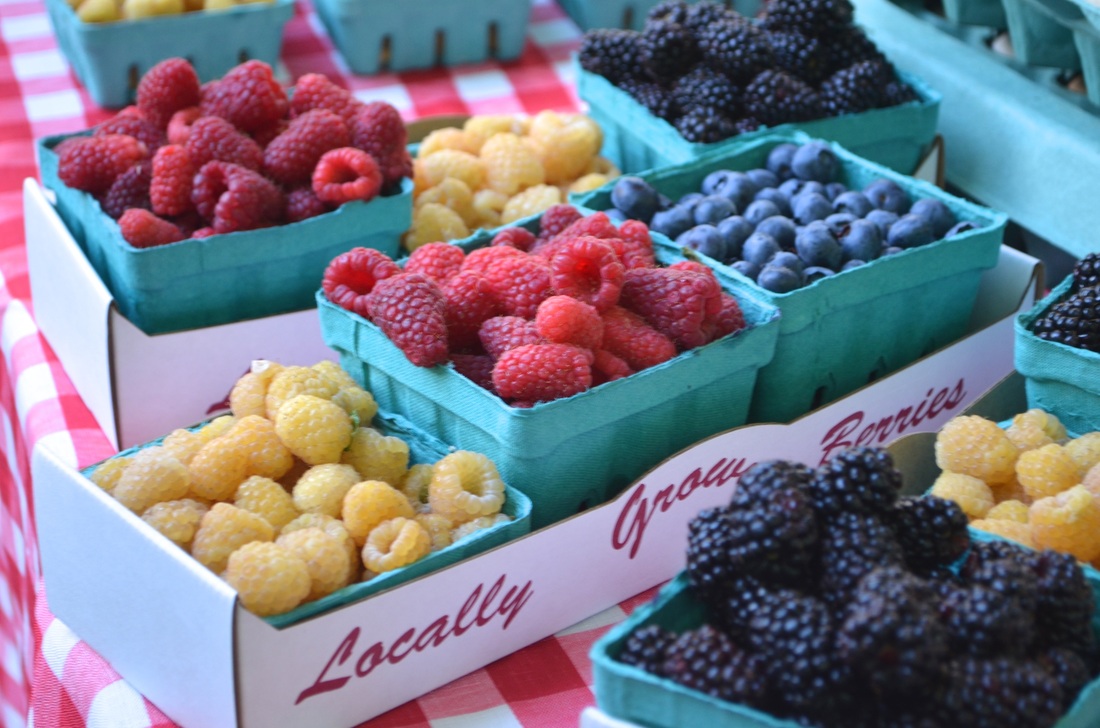
These berries were unbelievable. And only $3 a bunch!! We were tempted to get one of each, but we limited ourselves to blueberries, marionberries, golden raspberries, and strawberries. That was limiting ourselves. 
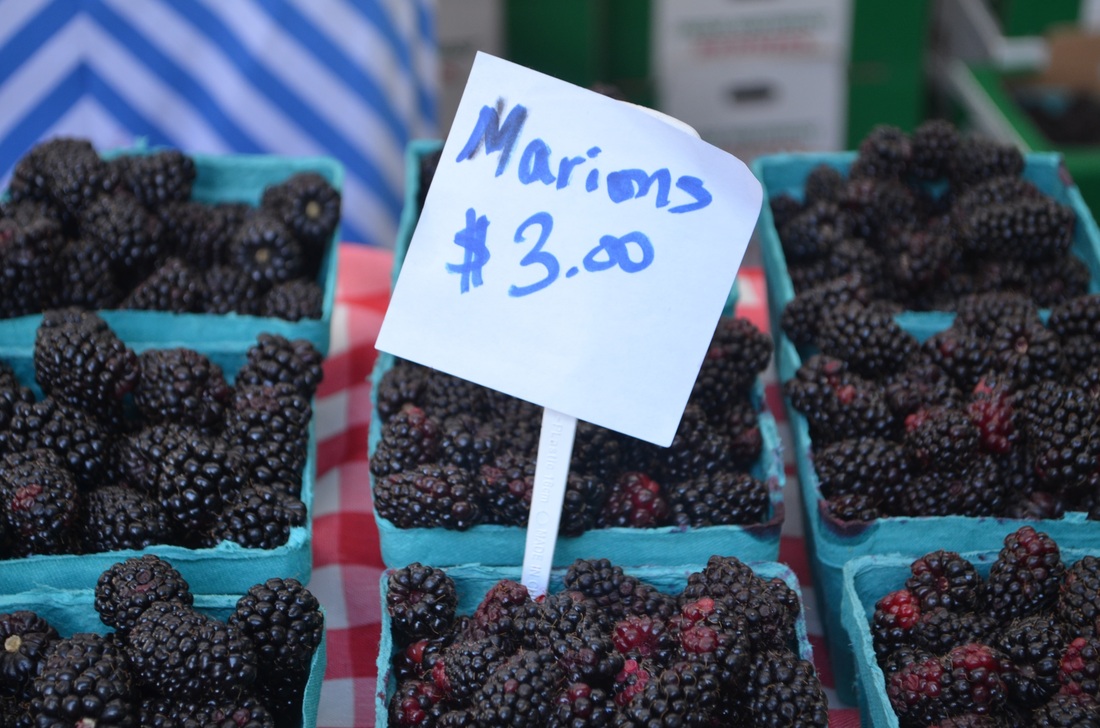
A marionberry is a blackberry created by the USDA and University of Oregon. It's only found in the Pacific Northwest, and I'm pretty fond of it. 
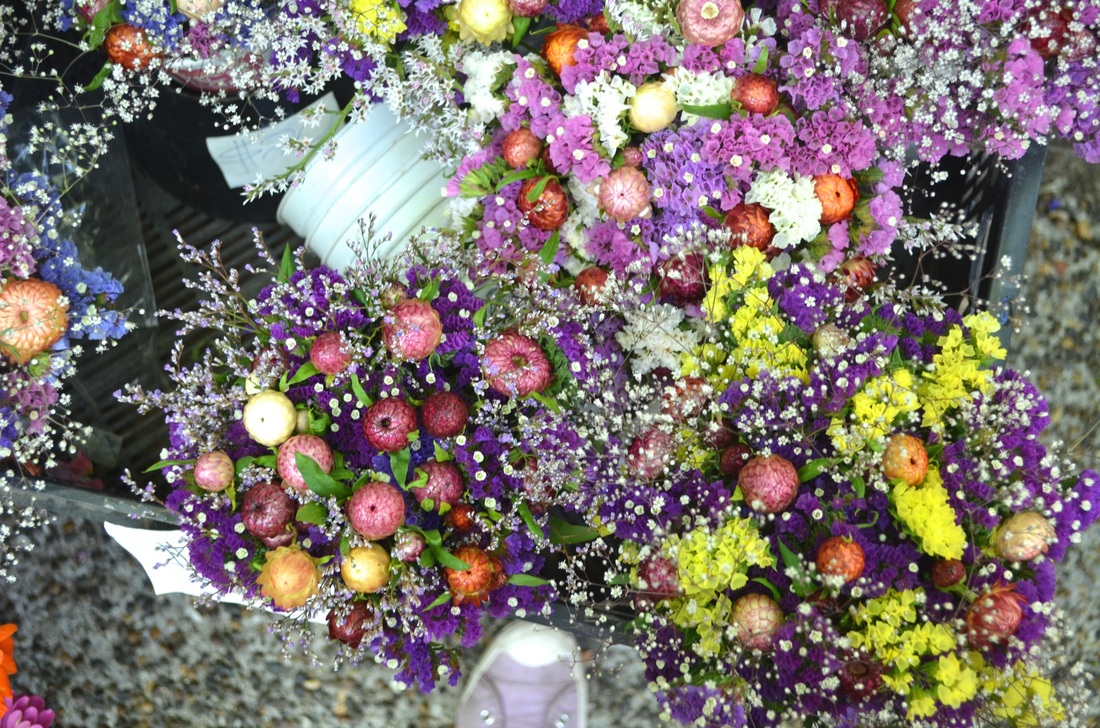
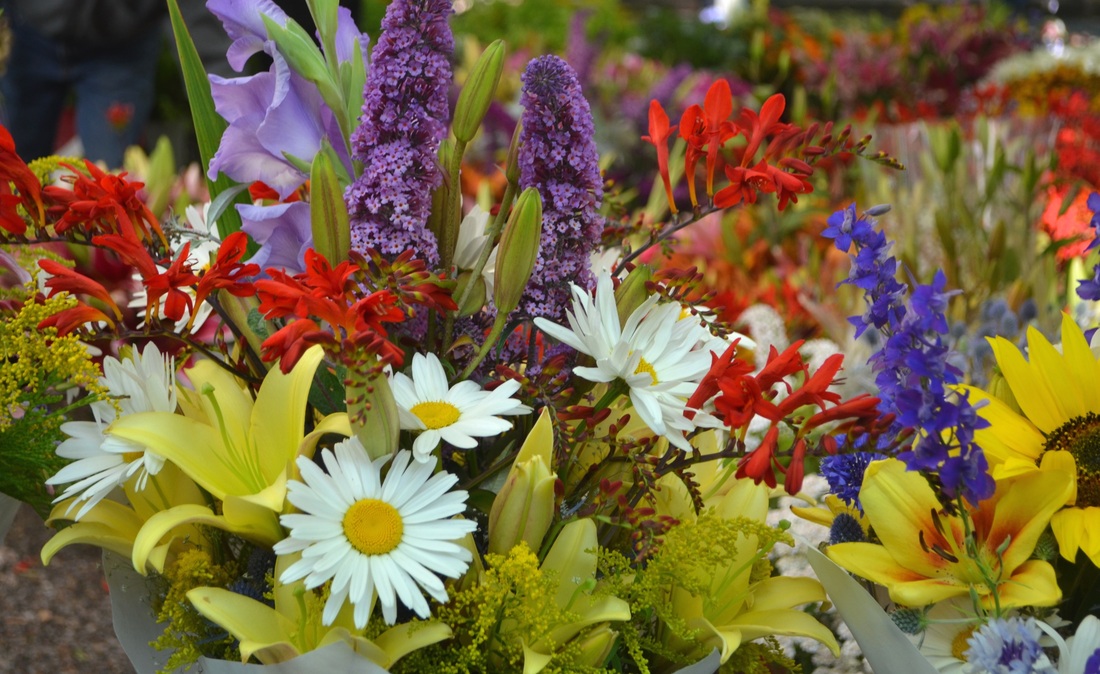
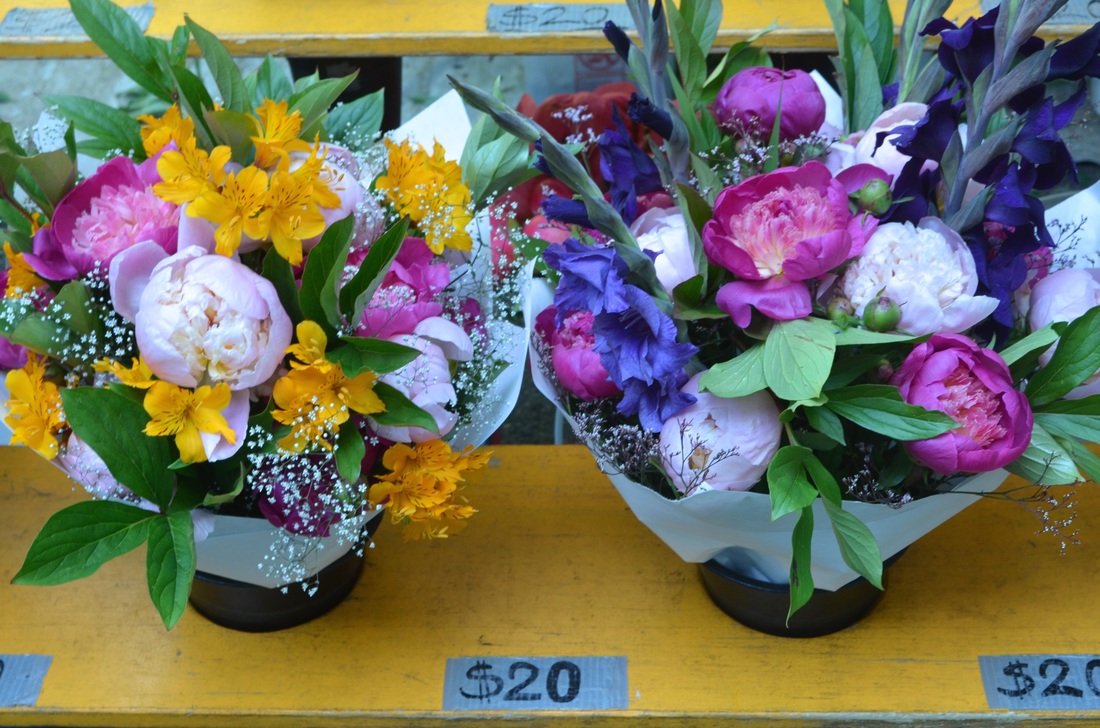
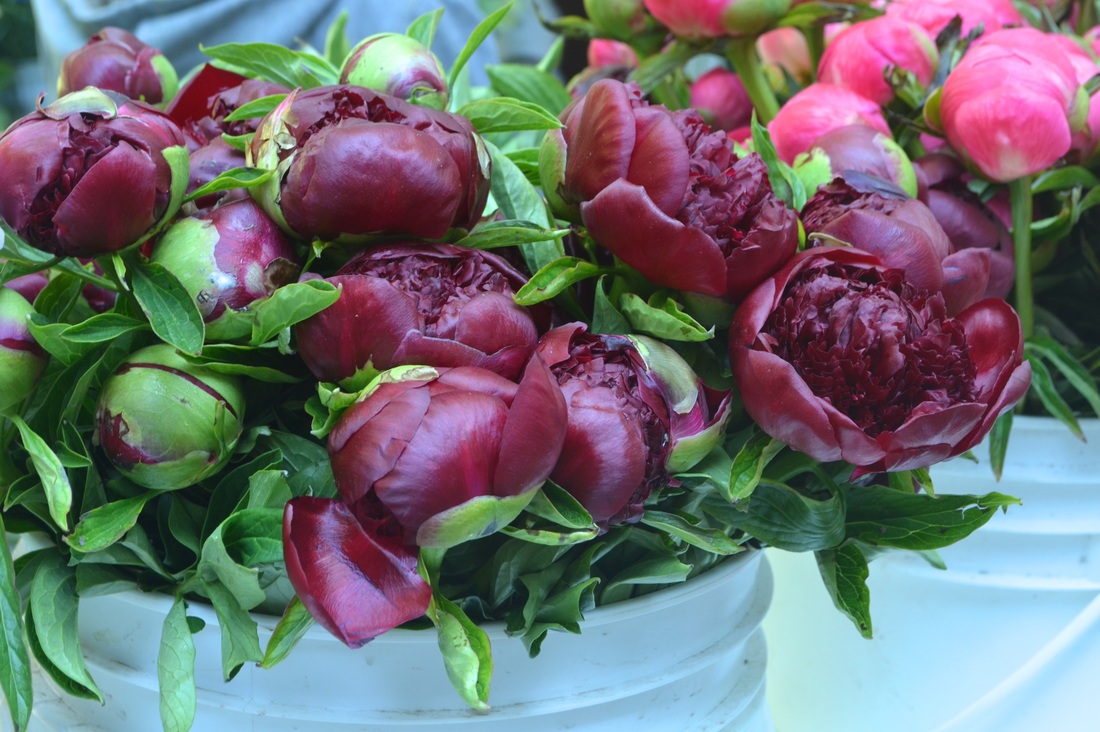
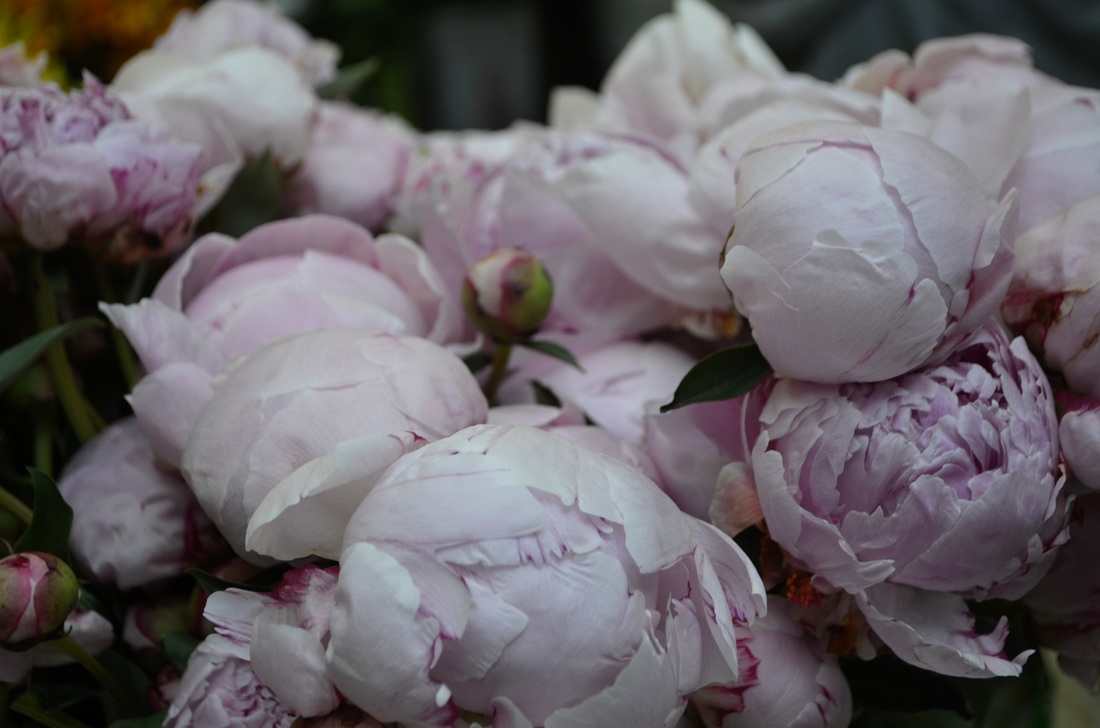
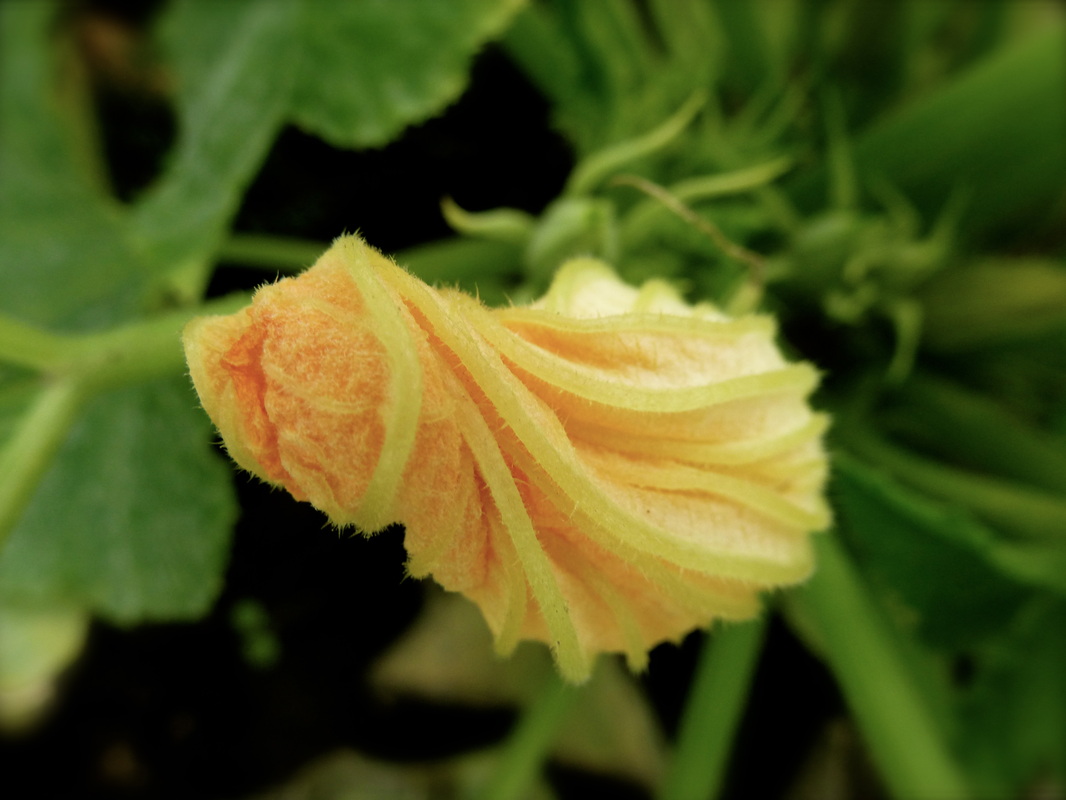
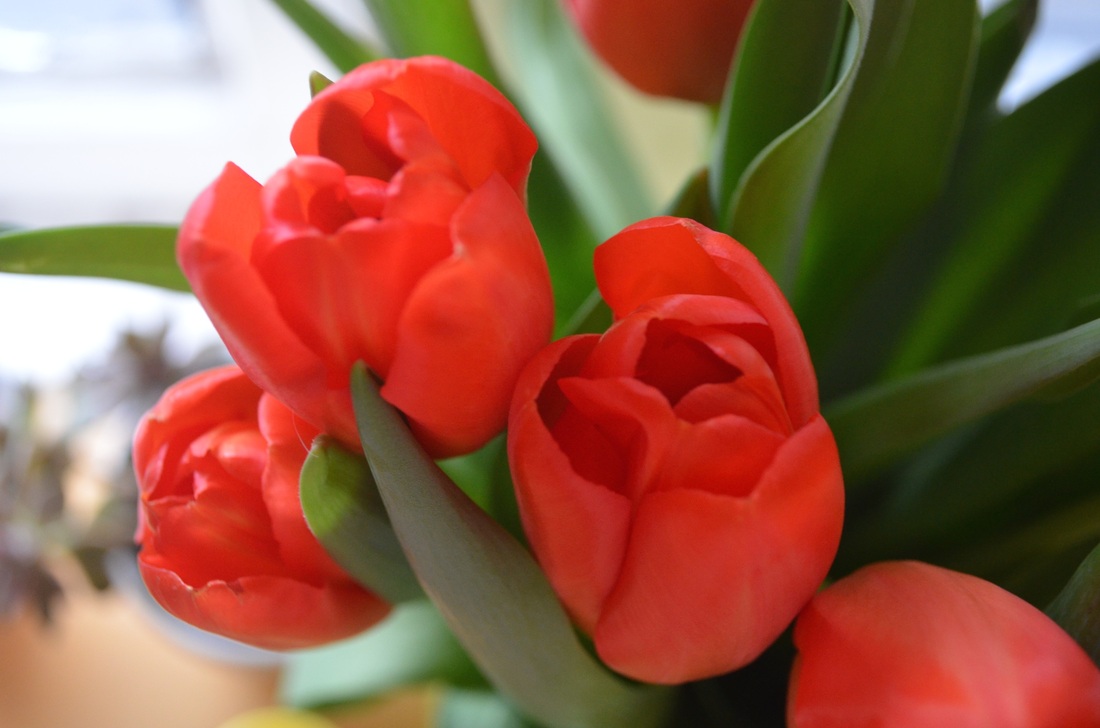
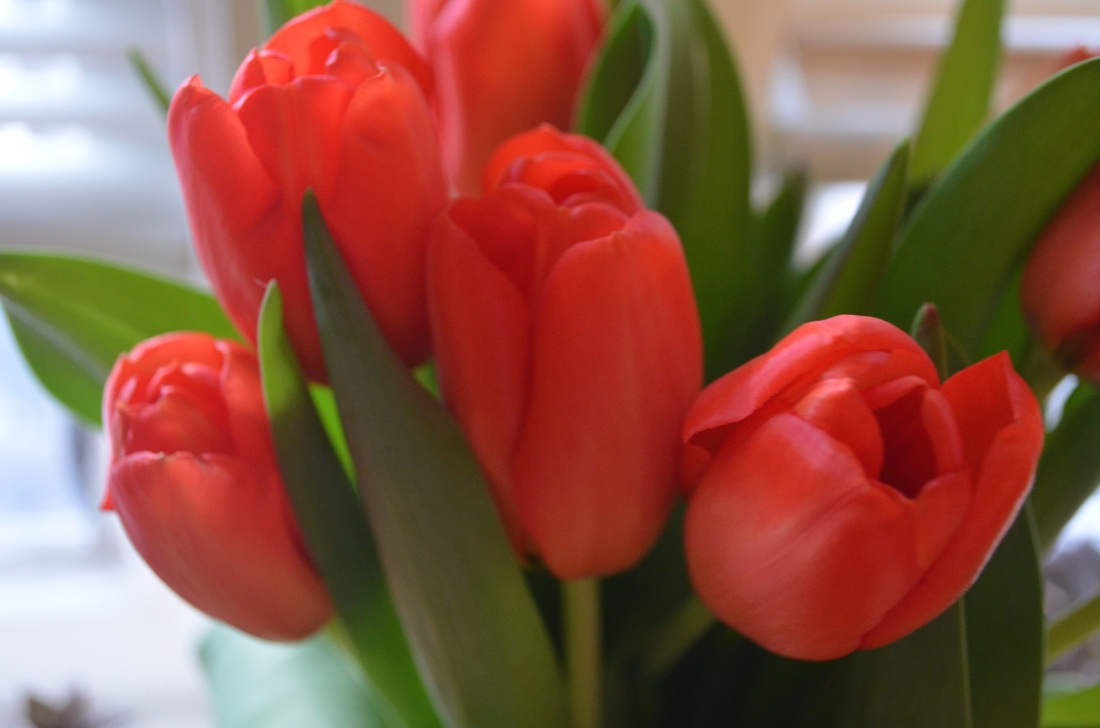
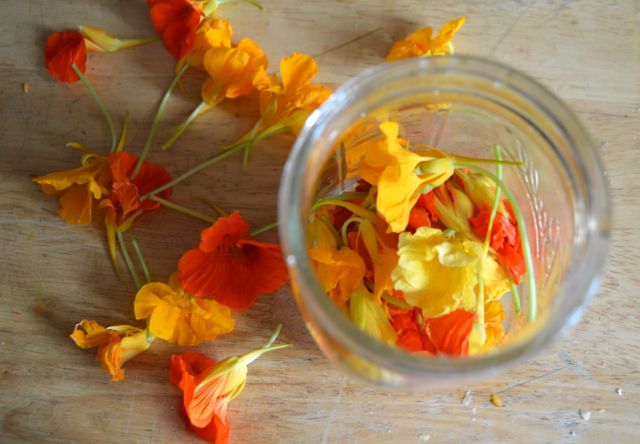
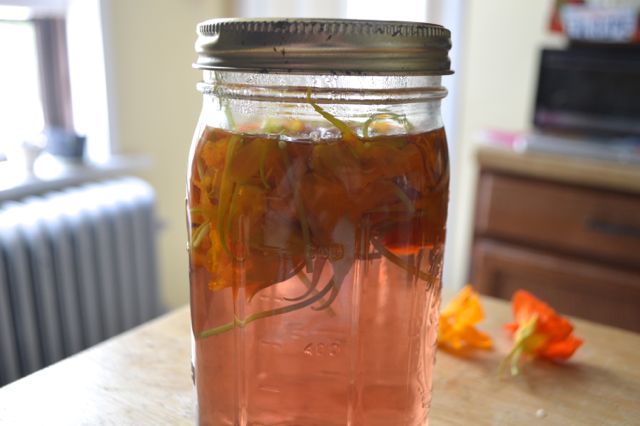
I'm telling you, these flowers were just amazing. Everywhere I looked out there flowers were growing like crazy, and their colors were soooo vibrant. The weather is just perfect for growing them out there. 
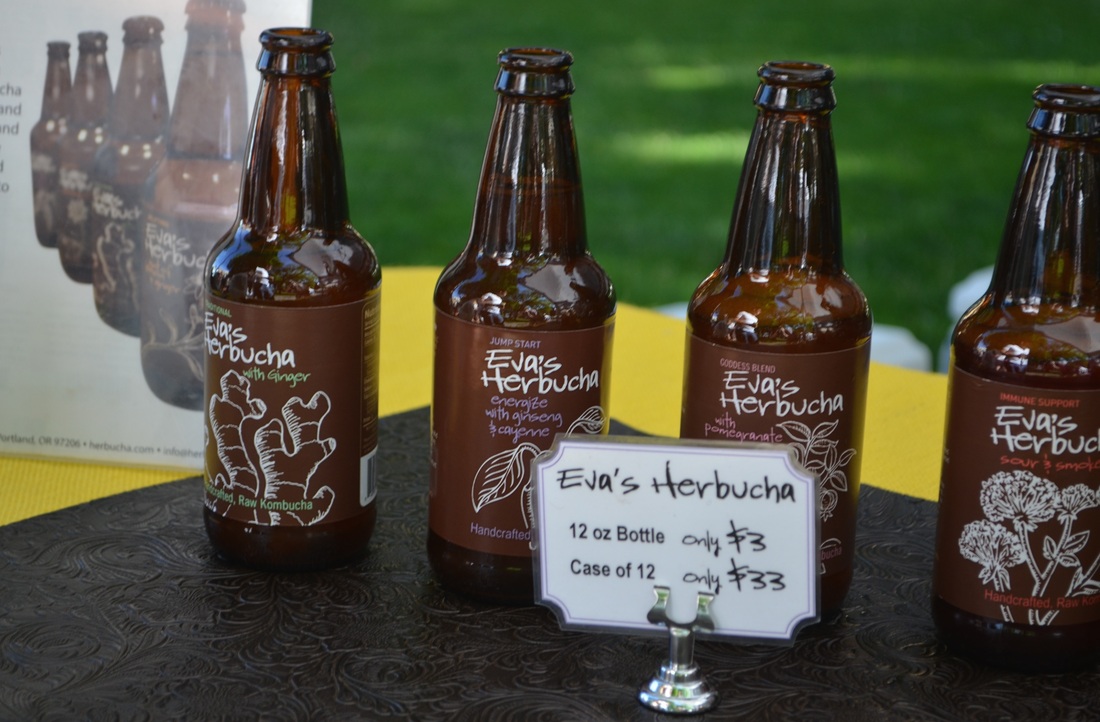
It wouldn't be Portland without something a little funky. I've been a fan of kombucha for a few years now, and I was very excited to see some homemade kombucha being sold at the market. I had a sample each and bought a bottle of the pomegranate. Tasty, tasty!
What's your favorite farmers market?? AND -- have you entered the bloviersary giveaway!! Stop everything you're doing and do it right now!!!
0 Comments
Lately I've been experiencing some intense nostalgia for our trip to Paris last summer. On days when scrolling through Pinterest photos just doesn't cut it, I stop by our local bakery and pick up a few macarons. The melt in your mouth taste is almost enough to transport me back to the last morning in Paris we spent by Victor Hugo's house. Almost. I had never tried making macarons myself because I was too intimidated, but when I saw the new Macaron 101 e-course on A Beautiful Mess, I threw caution to the wind and purchased the course ($8) and all the needed supplies (about $30). I'm only going to go through the highlights of baking macarons here since the process is so complicated and others can explain it much better than I can. A Beautiful Mess has also done a quick tutorial you can see here, but if you're really serious about making these delicious cookies, I recommend splurging on the e-course. Seeing the video and all the trouble shooting tips was really helpful. Before I could start baking, I needed almond flour, a piping bag, powdered food coloring, and a kitchen scale (I had the sugar, eggs, and kitchen aid mixer). I purchased everything through Amazon except the almond flour which I found at our local co-op. There were a lot of firsts I experienced baking these macarons - first time whipping egg whites, first time piping cookies, first time using powdered food coloring. I was pleased to discover all of these things were way easier than I had anticipated! One of the most important things when baking macarons is paying attention to moisture and humidity. No liquid is added to macaron batter (hence the powdered food coloring), and before going into the oven, the macarons have to rest and dry out. The humidity wasn't very high the day I made these, so I just needed to let the macarons rest about 15 minutes before baking. Pulling these macarons out of the oven and seeing no cracks and nice "legs" pretty much made my day. I was fully expecting a disaster with my first batch! I think the only reason they came out so well is because I followed those e-course directions so closely. I usually cut corners when I bake, and if I had done that with macarons I don't think they would have turned out. This is really a cookie that requires precision and attention to detail - not something I enjoy, but I'll definitely do it for a macaron :) I added some buttercream icing as a filling and let most of the macarons sit overnight. You're supposed to let the filling soak into the "shells" before eating them, but I had to try at least one of them! It cracked and melted just perfectly, and oh man...my tastebuds and heart were very happy. The total process for fifteen cookies took me about 2.5 hours including baking and cooling time. So I can now fully appreciate these cookies costing $1 each at the store. This is definitely not something I'll be doing every weekend, but I hope to make them for special gatherings or celebrations. Or for those times when I just really need a taste of Paris.
This was my first attempt at macarons, and I was so shocked/happy/amazed that they turned out practically perfectly. I followed the Macaron 101 e-course directions to the letter, and I highly recommend the tutorial. You can purchase it for $8 from A Beautiful Mess. Living joyfully is easier for me when I'm sticking to a budget. Living within my financial means reduces stress and leaves money leftover for awesome things like travelling, gardening, and roller derby. One of my four simple goals for May is to stick to the current budget my husband Paul and I created. To help us do that, I'm sticking to three steps for cutting our food waste. Less food waste means we're actually using what we have and not just throwing our food budget in the trash. Here's three ways I've successfully cut my food waste in the past: 1. Keep your fridge clean and organized. I'm trying to get in the habit of cleaning our fridge out weekly. It helps me remember what we have and to use up our really perishable items before they go bad. Keeping leftovers at eye level has also helped keep them noticeable. I can't even count how many times tasty leftovers or healthy veggies have been lost in our fridge only to be found weeks after they've passed their prime. A related bad tendancy: buying the same item several weeks in a row without already using what I have. I've thrown out a few strawberry containers this spring simply because I forget we haven't eaten what we already have. Poor strawberries.... Keeping my veggies in their assigned drawer in one layer also helps keep up their visibility. And for me greater visibility = less food wasted. 2. Keep a list on your fridge of fresh items that need to be used quickly. This trick has helped me tremendously. Having food visible in my fridge doesn't always help remind me to use them if I don't open my fridge before making my meals or writing my grocery list. When I've kept a fresh food list on the fridge and checked items off as I've used them, I've greatly reduced the amount of food we waste. Even though I've been successful before with this, I have a hard time making it a long term habit. Hoping that this sweet notepad will help me stick to this. 3. Make a weekly menu plan. This is probably the best habit/tip for sticking to a budget and cutting food waste, and it also seems like the hardest for me to do. Paul bought a handy food planning white board for the kitchen, which is super fun to write on and has helped us meal plan better. I also love that it has a mini cork board - I've used it to pin coupons, bills, and awesome cards. My goal for this month is to create a menu plan on Saturday and grocery shop on Sunday (after checking our fridge contents first). So far so good with this! [IYou might notice I don't have a night for leftovers up there. I don't usually include this since I take leftovers to work for lunch. It's usually enough to keep up with our dinner leftovers.] My Valentine's Day card to Paul. Probably the best card I've found for him to date.
Reading back through my food cutting tips, it seems like the running theme is that I need my food and meal plans to be visible. Waste happens when I forget what I have and then throwing expired things out. This leads to more money spent at the grocery store and more money spent on eating out. Hopefully knowing that will help me reach my goal of sticking to our food budget this month! Thanks for reading! Do you have any good tips for cutting food waste at your house? Happy belated Earth Day! In honor of Earth Day, I'm sharing some reflections on eating and how it can help us be better Earth "citizens." I've long been an advocate of making a difference by starting with baby steps. It's always helped me to remember that even if I can't make a huge difference right now or make huge shifts in my habits, I can still take small steps that gradually add up to something much larger. My baby steps started ten years ago with a forty day vegetarian challenge, which grew into a decade long vegetarian challenge, and then carried over into my cooking and shopping habits. Not being able to shape my meals around meat led me to eating more vegetables and shopping at more local farmer's markets. Later I began participating in Community Supported Agriculture programs, and more recently I helped start and now direct a local community garden. My original baby steps became habit, then second nature, and allowed me to slowly add on more and more. Through my baby steps, I've learned that eating is such a simple way to make a huge positive impact. What we choose to eat and where we buy our food from can have lasting impacts on our bodies and on the environment. Today the environmental impact of large scale industrial farming is more visible than ever before. So too are the positive effects of small scale, organic farming. (I'm not going to write about that all here because that's all really another post for another day.) Eating environmentally consciously is conveniently better for the economy, local farmers, and our bodies. It helps us remember that we're part of the Earth and rely on it for our daily survival. When we honor that connection it's better for us and the planet. I think Michael Pollan, food writer and activist, has been doing a great job of making this message accessible to a mass audience. I'm reading his book Cooked now, in which he discusses how cooking is one of the best ways to remember our connection to the planet. It reminds us of where our food comes from, connects us to the food chain in a very intimate way, and helps us recognize that we come from and are nourished by the Earth. Here's an excerpt from Cooked that illustrates this point much better than I can! ...taking back the production and the preparation of even just some part of our food, has the salutary effect of making visible again many of the lines of connection that the supermarket and the "home-meal replacement" have succeeded in obscuring.... To do so is to take back a measure of responsibility... ..."the environment" ... suddenly begins to seem a little less "out there" and a lot closer to home. For what is the environmental crisis if not a crisis of the way we live? The Big Problem is nothing more or less than the sum total of countless little everyday choices, most of them made by us (consumer spending represents nearly three-quarters of the U.S. economy) and the rest of them made by others in the name of our needs and desires. If the environmental crisis is ultimately a crisis of character, as Wendell Berry told us way back in the 1970s, then sooner or later it will have to be addressed at that level -- at home, as it were. In our yards and kitchens and minds. Wooh - I love that! Get it Michael Pollan. Here he's essentially saying that if we want to address the environmental crisis, we can start by paying attention to what we cook. Our gardens and farms are part of the environment, and when we create sustainable ways of feeding ourselves, we help build a more sustainable relationship with our planet. And that finishes my environmental PSA for today. Hope you all enjoy your weekend, and when you eat and prepare your food, I hope you take a minute to remember your connection our wonderful Mother Earth.
I like my cupcakes simple and delicious. And I've found (and perfected) a recipe that gives me just that. I don't share recipes often on here, but this was just so good I needed to shout this cupcake recipe from the rooftops (blogtops?)! Hope you enjoy and please be patient with my venture into recipe sharing. Vanilla cupcakes: adapted from Martha Stewart. Makes 24 cupcakes. 3 cups flour 1 1/2 teaspoons baking powder 3/4 teaspoon salt 12 tablespoons butter (I used salted, but recipe called for unsalted) 1 1/2 cups sugar 3 eggs 2 teaspoons vanilla 1 1/4 cups milk Preheat oven to 350 degrees and line cupcake pans with liners. Cream butter and sugar until light and fluffy. Add eggs one at a time and add vanilla. Mix together flour, backing powder, and salt in seperate bowl. Add flour mixture and milk alternatively, beginning and ending with flour. Divide batter evenly amoung liners, filling each about 3/4 full. Bake about twenty minutes or until toothpick comes out clean (my cupcake liners were taller, so my cupcakes took closer to twenty-five minutes to bake). Transfer to wire rack and let cool completely. Buttercream Icing with a Twist: adapated from the Food Network. Enough icing for 24 cupcakes. (spoiler alert: the twist is cream cheese) 3 cups powdered sugar 1 cup butter (softened) 2 teaspoons vanilla 1-2 tablespoons milk or whipping cream 4 ounces cream cheese (softened) Beat together butter, cream cheese, and sugar. Add vanilla and milk. Beat on high for 1-2 minutes until icing is light and fluffy. Taste and add various ingredients until you like your consistency and taste. The beauty of any icing recipe is that you don't have to worry about the amounts of each ingredient being exactly right like you do for something you'd bake. Icing is all about what tastes good. Play around with it until it tastes delectable (although you shouldn't have to do too much since I've done a lot of the tinkering for you - the addition of cream cheese does wonders for this recipe). To get the purple color above I added 16 drops red food coloring and 12 drops blue food coloring. To get the piped icing look without an actual piping bag, I added the whole batch of icing to a large ziplock bag, pushed as much air out as I could, then cut off the very tip of one of the corners (I always start small and gradually work bigger if I want more icing to come out). Then youtube a video of pastry chef adding icing to something and do your best impression of them (here and here). I start my icing swirl on the outside, then twirl my wrist around to get the slight pyramid shape on top of each cupcake. Add some sprinkles to the top and you're set!
*If your icing seems to be sliding or not sitting well on your cupcake, first check to make sure your cupcake is completely cooled. Don't want your icing melting! Second, check the temperature of your icing. If it's too warm, let it cool off in the fridge for a bit then try again. Happy baking and happy spring! Good morning everyone! Wow do I feel better! Looks like the books did the trick yesterday and cheered me right up. Reading the books, watching a Miyazaki movie, making a pie, getting an amazing seed catalog in the mail, buying new flowers for our kitchen, and a twenty degree warm up. The little things really add up. One of my favorite holidays to celebrate in the winter is Pi(e) Day. March 14th - 3/14 - 3.14159....get it? Yes, it is awesomely nerdy. I made Tofu Peanut Butter Pie again this year. It's become my go to pie since it takes less than ten minutes to make. To make: add your block of tofu, cup of smooth peanut butter, 3/4 cup sugar, 2 tablespoons milk, and 2 teaspoons of vanilla to your food processor. Mix until smooth and creamy. Melt some chocolate and spread it on the bottom of your pie shell (graham cracker preferably, but mine cracked too much to use for the pie I was bringing to work). Spread your peanut butter filling into the now chocolate cover pie crust. Smooth out. Sprinkle chocolate chips on top. Devour. It's that simple! (And no, it tastes nothing like tofu.) Oh, and what's that you say? You want to see pictures of tulips? Ok! Who I am to deny the people what they want? Happy Friday!
This weekend, I hosted my second annual cookie making party!! Five of my friends and I gathered to bake, eat, and share delicious Christmas cookies (and treats). We each brought a favorite holiday recipe and then split up the goods at the end of the night. I captured almost all of our treats in the photo above - just missing the puppy chow. I'm proud to say that I still have cookies leftover from Saturday that I plan to give away as Christmas presents (as long as Pedro and Diego don't find where I've hidden them). Pedro helped me get ready for the party and kept a look out for people arriving. (We got a couple of inches a few hours before the party. It was gorgeous!) I made a couple of small flower arrangements to add to the festive feel of the night. I spent $12 total on three small groups of flowers (the red, pink, and white flowers came separately), and I put them together in two bouquets just a couple of minutes following this tutorial. A few of the beautiful bakers :) Saturday was my first time making chocolate covered pretzels. Don't know I made it to 28 without ever making them, but I think it's probably because I've always been around other people who make them for me. And because I usually just stick to snowballs (see below). I was really surprised by how easy the process was and really happy with how the pretzels turned out! I melted my chocolate in the microwave for a few minutes (30 seconds at a time to make sure it didn't burn). We dipped the pretzels half way in the chocolate, added some spinkles, and let them dry on parchment paper. Tah dah! A few more photos of the finished product. This was such a nice night filled with nice wine, ladies, and sweets. I'm really excited to give away Christmas cookies since it's a heartfelt way to show people I'm thinking about them and put time and energy into making something really tasty for them. It'll keep me hosting cookie parties for many years to come.
Here's last year's cookies and cookie making highlights. With the fall season quickly coming to an end (poor fall always getting shortened by Christmas season explosion!), I wanted to make sure I shared the delicious juice I've been drinking for the past few months while the ingredients were still in grocery stores. I received a beautiful juicer as a gift last year but have been slow to really get into the juicing scene. But after trying the Pear Chai juice at the Green Kitchen in the Milwaukee Public Market - and realizing I had all I needed to make my own - I decided it was time to give juicing a go. This juice captures some of my favorite fall flavors and is sweet with a little bit of a kick. It's also healthy and can be made with local, seasonal ingredients. And it's perfect for when I need a little something to get me from lunch to dinner or need something sweet after dinner but don't have any dessert on hand (a true travesty).
Ingredients: 2 pears 1 apple 1 square inch ginger 1 tablespoon honey pinch cinnamon Chop your fruit and add to the juicer with the ginger. Sprinkle your glass with cinnamon. Pour apple/pear/ginger juice into cup and stir in your honey. Garnish to your heart's content and enjoy! -- Sometimes I like to water this down a bit because it's so sweet, but I've also enjoyed it plenty just as is. Cheers to fall! I'm growing nasturtiums in my garden this season and have loved the pop of color they add to my garden bed. Nasturtiums are one of the most well known edible flowers, and they're a favorite of gardeners for their taste and their ability to deter pests from tomato plants. They're also great for brightening up salads. While reading Cooking with Flowers, I saw a recipe for nasturtium jelly, and thought it would be a great use for my explosion of nasturtium flowers. I had never attempted to make jelly before, so if you're a jelly-making-newbie like me, I think "you're ready for this jelly." For this recipe, you'll need 1 1/2 cups nasturtium flowers, 2 cups water, 1/4 cup lemon juice, dash of hot sauce (optional), 2 cups sugar, and 1 (3 ounce) packet powdered pectin. The recipe makes enough jelly for about two medium sized mason jar (see top picture). Begin by placing blossoms in sealable heatproof jar and pour 2 cups boiling water over top. Let it stand for at least two hours and up to overnight. (I let it stand for 5 hours, but I will let it seep overnight next time to get more flavor. The taste of the flavored water will weaken when adding sugar and lemon juice.) Strain mixture and reserve your "nasturtium tea." Press the blossoms to drain as much liquid out as possible. You can leave the blossoms in at this point, but I played it safe and left them out. If you're feeling adventurous, consider placing the flowers at the very bottom or very top of the finished jelly jar for a striking finished look. Bring nasturtium tea, lemon juice, (hot sauce) and sugar to a boil in a 3-4 quart pot. Add pectin when sugar is dissolved. Return to boil for three minutes. Scrape off any foam that develops - don't want it affecting the taste or look of your jelly! Ladle jelly into clean, dry jars. The jelly will be hot and liquidy at this point, but it will start to set once it leaves the pot. You can can or refrigerate your jelly at this point. Canned jellies will last for one year, and refrigerated jellies will last for a couple of months. Because canning still makes me nervous, I just refrigerated my jelly and have been sharing it with friends and coworkers. And it will have disappeared long before it's couple-month shelf life has expired. Recipe adapted from Cooking with Flowers. The finished jelly has the sweet/spicey taste of nasturtium flowers. I didn't add the hot sauce, but I think I will next time to really highlight the flavor of the nasturtiums. The jelly is great served on toast, but my favorite way to eat it is served on crackers with a little goat cheese. Enjoy!
My coworkers and I took a break from our regular work schedule for a staff meeting in Northwestern Wisconsin this week. We had the option of camping instead of sleeping in a hotel, so I said "heck yes!" and signed up for the camping crew. I volunteered to make a dessert and tried out a recipe for campfire mini cakes from Today's Letters. They were a total hit and confirmed my baker status among my coworkers (score). While I admit I have some mad baking skillz, I had never baked over an open flame prior to Wednesday night. The fun experiment turned out to be totally worthwhile - even though I got a little too up close and personal with the smoke and flames. The cakes are baked in hollowed out oranges, covered in tin foil, and placed directly in the campfire for 20 minutes (with a turn halfway through). Ingredients include one yellow cake mix, 3 eggs, 1/3 cup oil, 1 cup water, 10-12 oranges. Slice off tops of oranges about half inch from the top. Save orange top for later. Scoop out orange "innards." Prepare cake mix according to directions and fill each orange about 3/4 full. Place top back on orange and wrap in foil. Place wrapped oranges in camp fire, turn halfway through, and check after 20 minutes. Orange peel may be burnt, but the cake will still be tasty! Helpful tools: foil, bowl, spoon, bottle from home with oil and water pre-mixed, crack proof container for transporting eggs, long tongs for putting oranges in fire. Tip: scoop out oranges at home if possible and try to conserve orange innards. This process was messier and took longer than I expected. I accidentally wasted a lot of the orange juice and pulp because I didn't have a good way to save it. I'd also avoid using mini oranges since bigger oranges = bigger cakes = happy campers. I highly recommend giving these a try on your next camping trip. They were such a fun novelty since 1) not many people bake over open flames and 2) not many people eat cake out of oranges. We were dreaming up other variations around the campfire, and I think a grapefruit might be interesting, but as my coworker said "I think we're going to shelve the gourd idea."
|